Neony is a community-first perpetual DEX built on its own L1, designed for low-latency execution and maximum capital efficiency with cross-collateral, vaults, borrow/lend, and trader kickbacks.
Neony is currently wallet-based only. Social login is planned, but for now you need a supported Web3 wallet.
1. Create your account
To get started, you need a wallet that supports either:
- Solana
- Neony (Aptos fork)
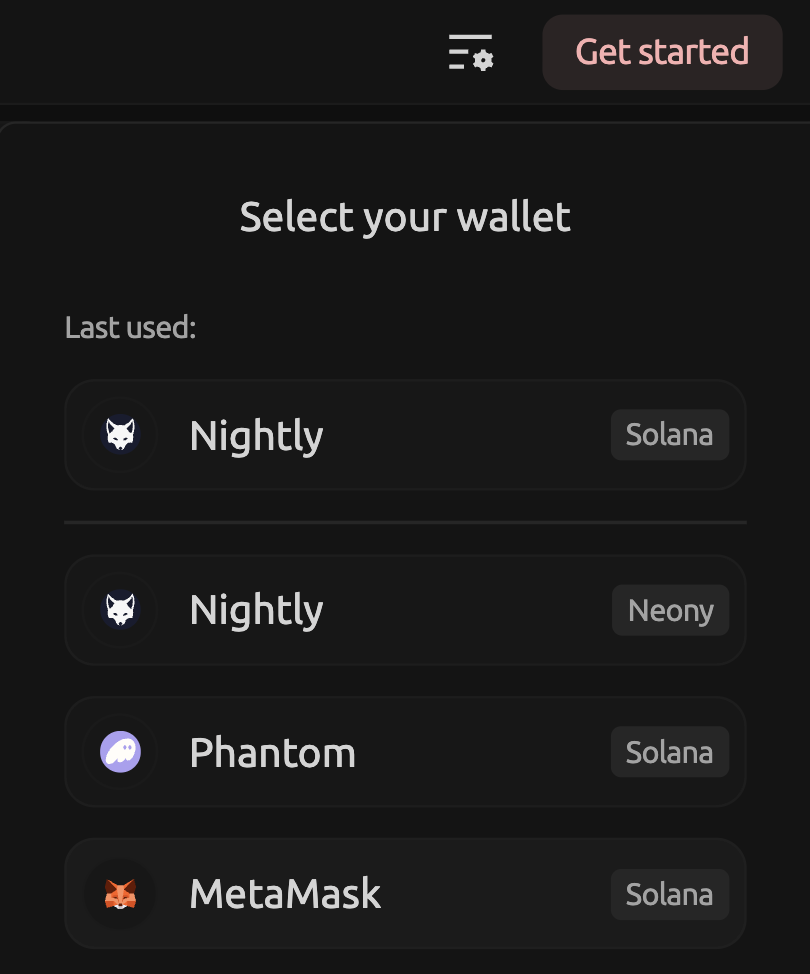
After opening the app:
- Select your wallet and choose the network (Solana or Neony)
- Enter your account name (nickname)
- (Optional) Add a referral code
- Read and accept the Terms of Service
- Confirm that you understand you are trading with real funds
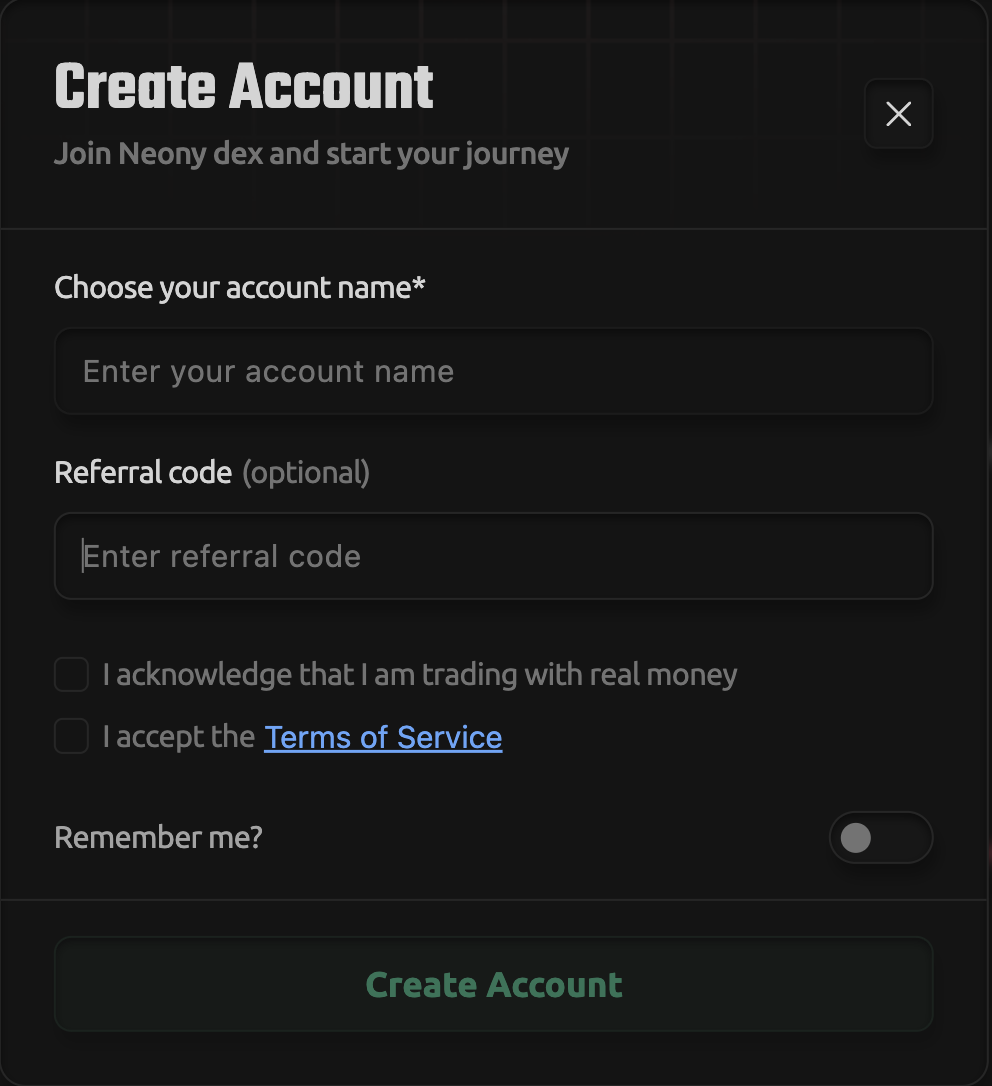
Once completed, your account is created.
2. Make your first deposit
Currently, there are two deposit methods available. A fiat on-ramp (card payments) will be added later.
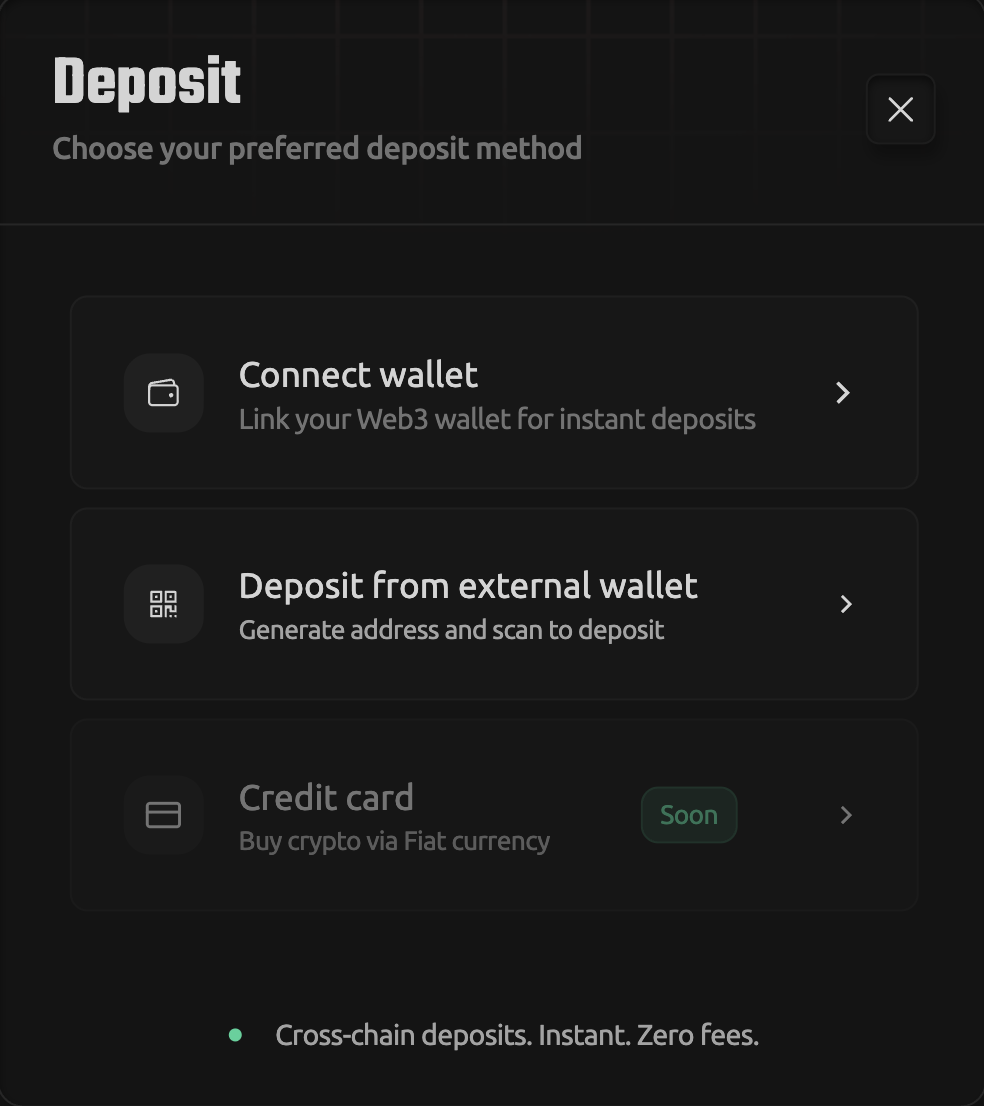
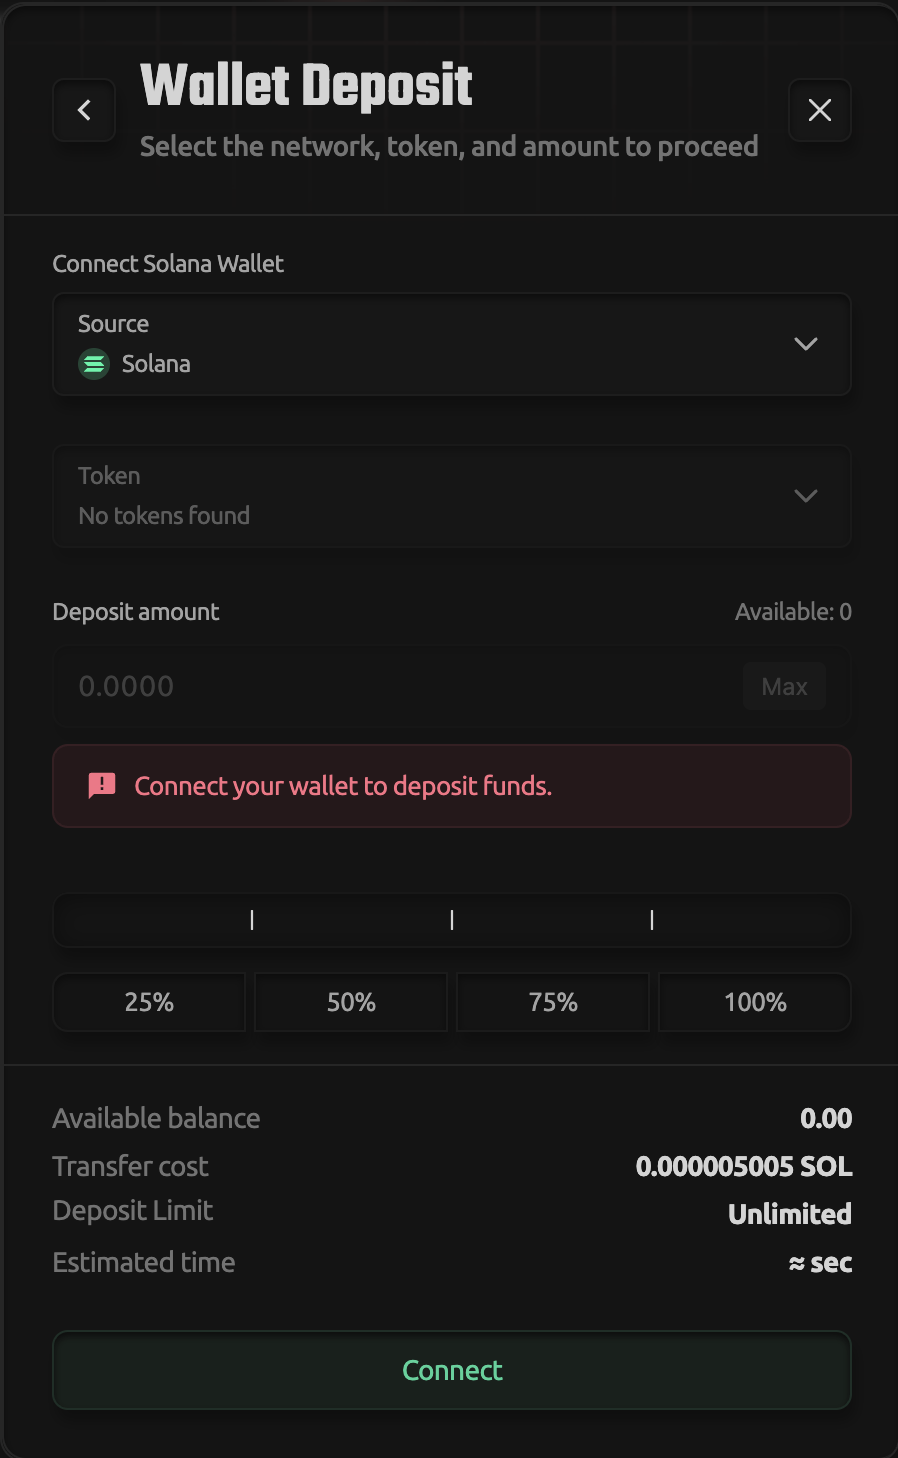
Option 1: Connect wallet
This is the simplest method.
- Click Connect wallet
- Select Solana network
(Neony network will not hold funds for deposits) - Click Connect Solana wallet
- Choose your wallet (e.g. Nightly, Phantom)
- Confirm connection
You can now deposit directly from your wallet.
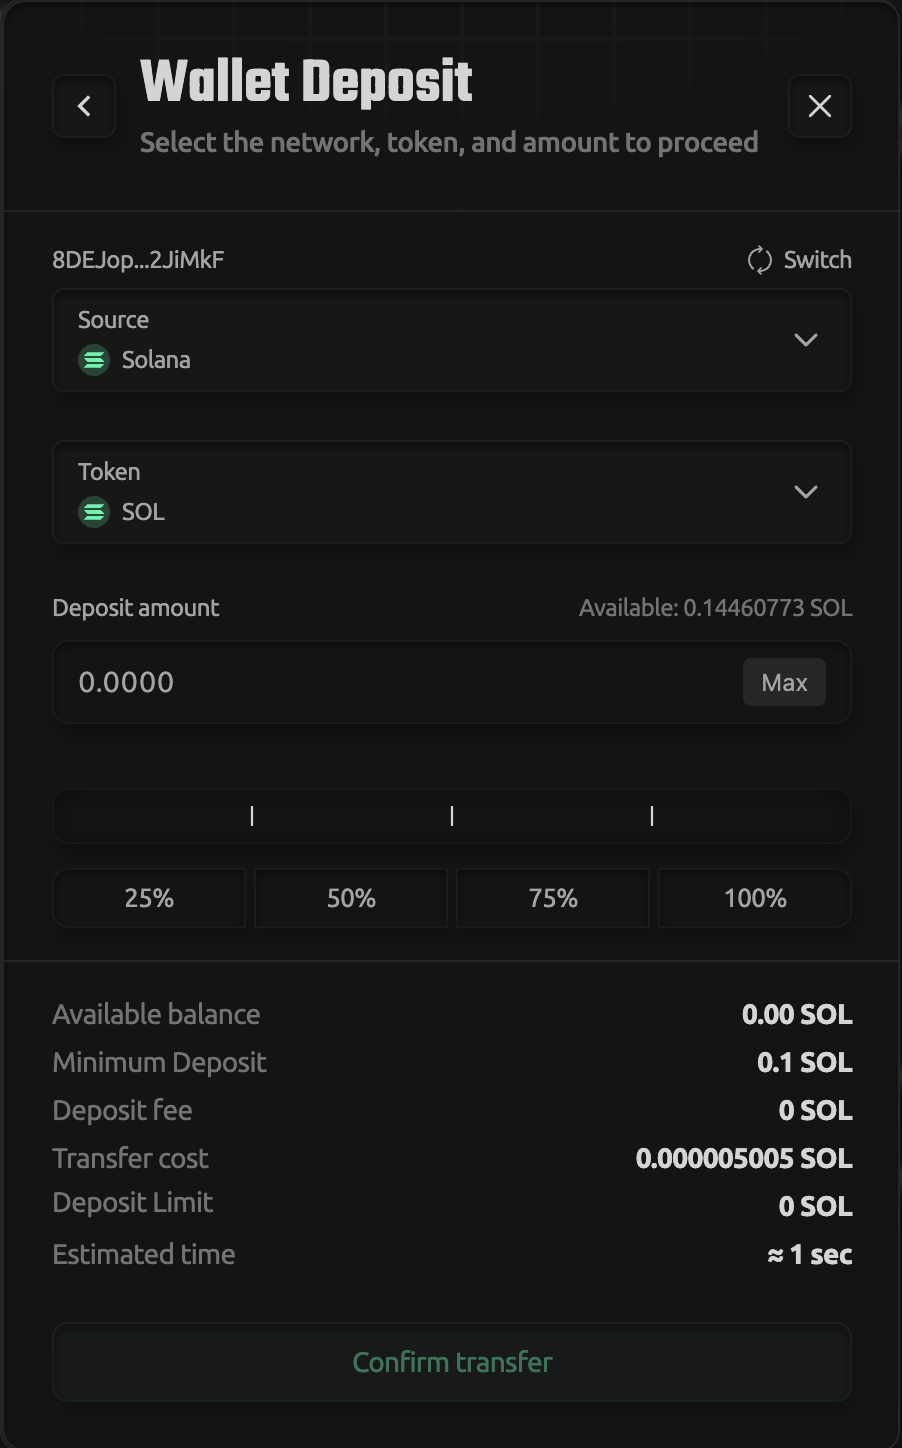
Supported tokens:
- USDS
- USDC
- SOL
- CBBTC
Deposits typically take a few minutes.
Option 2: Deposit from external wallet
This method is used if you want to send funds manually.
- Click Deposit from external account
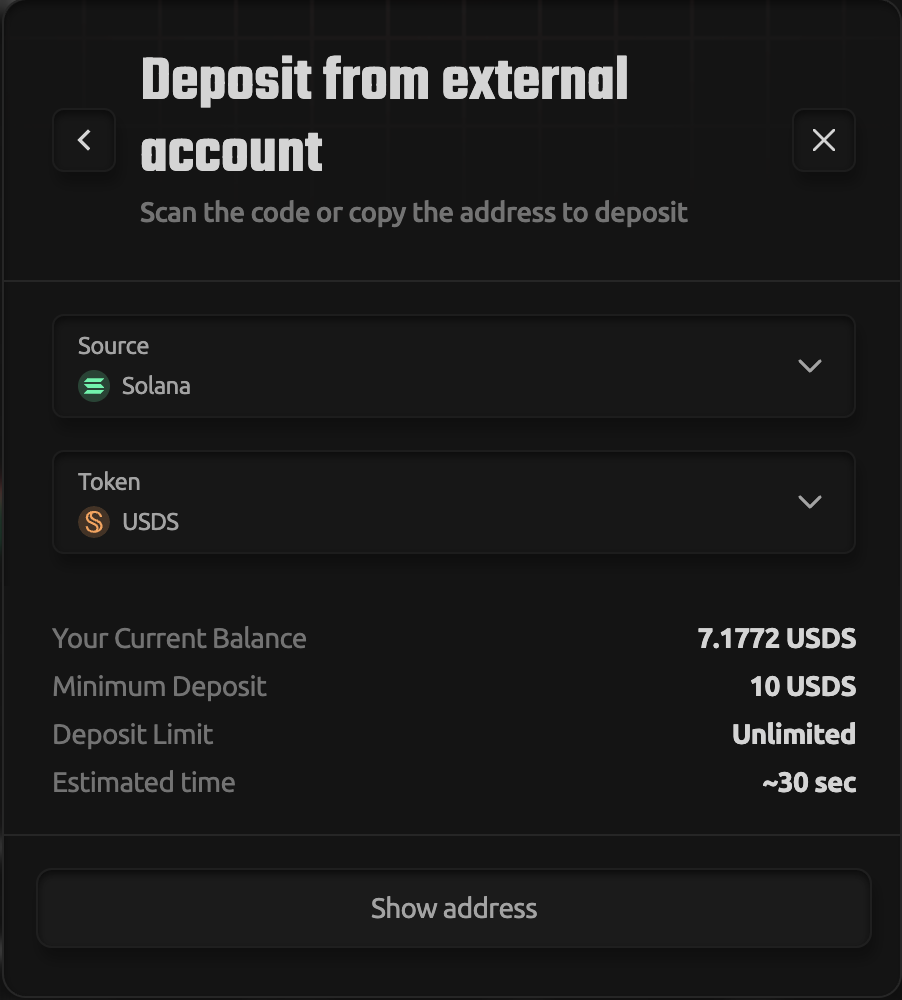
- Select Solana network
- Choose a token:
- USDS
- USDC
- SOL
- CBBTC
- Generate deposit address
- Copy the address or scan the QR code
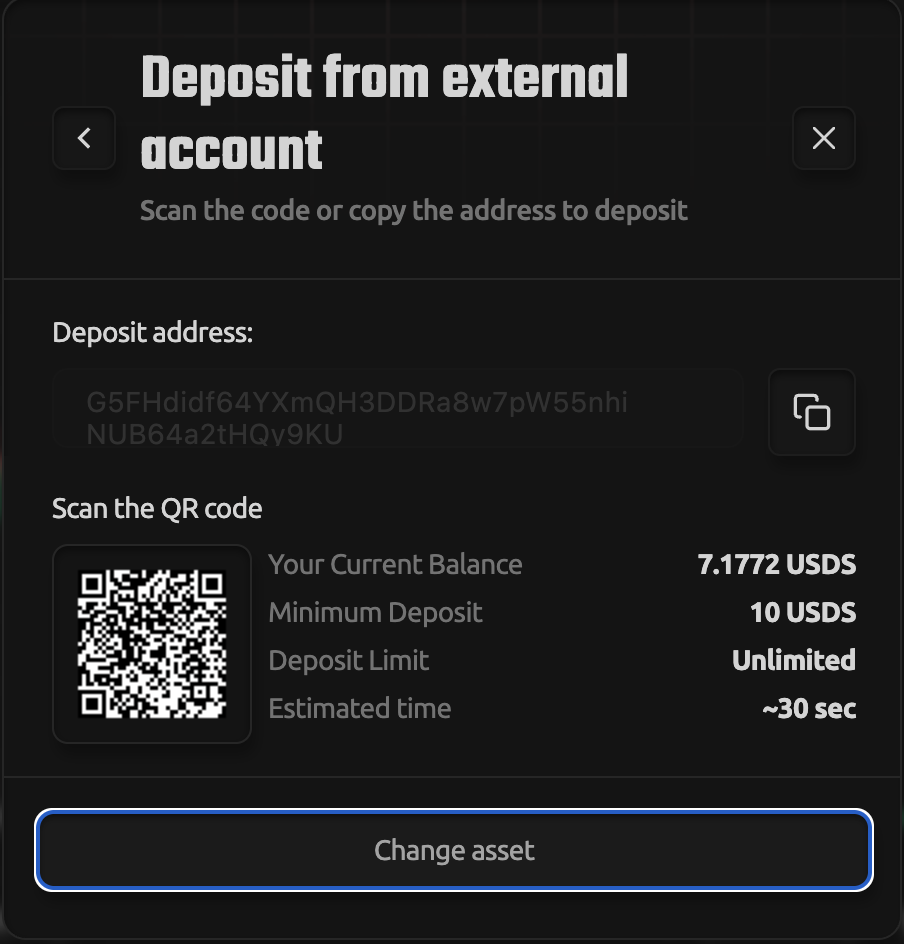
- Send funds from your external wallet
Once the transaction is confirmed, funds will appear in your account.
What’s next
Your funds are now available on Neony.
You are ready to open your first trade.
Detailed walkthrough: Your First Trade on Neony